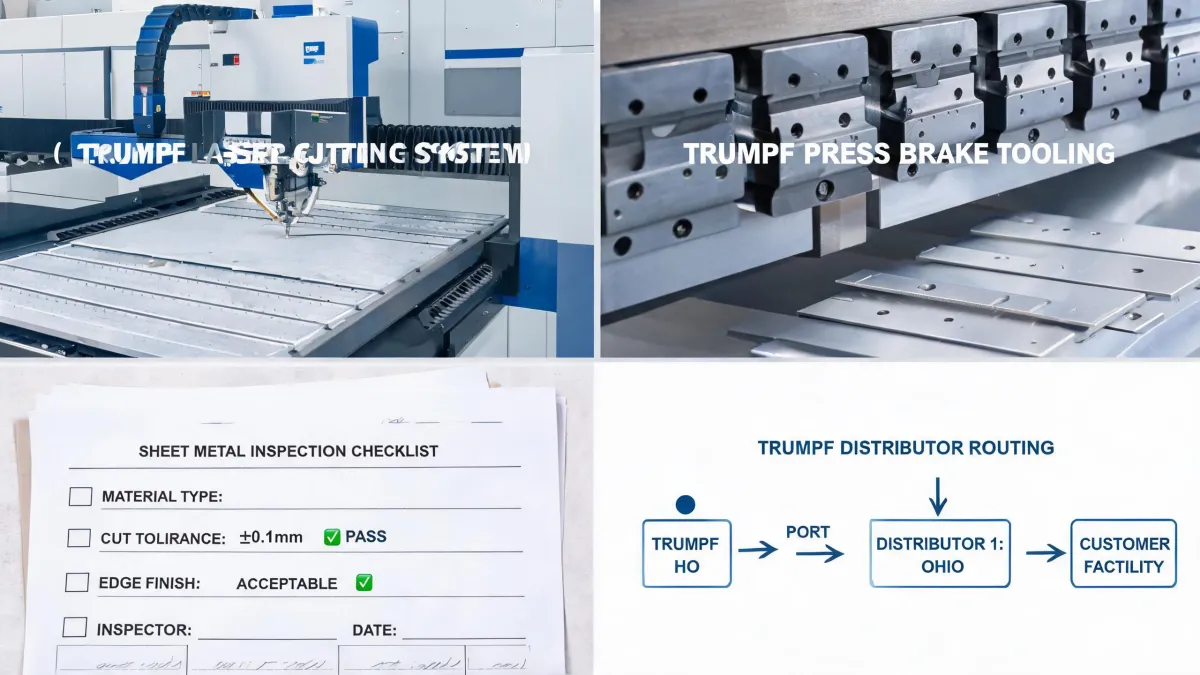
Look, I've been managing our company's laser cutting procurement for about 6 years now. We spend roughly $180,000 annually on cutting services and machine maintenance. I've seen the TRUMPF speed chart for mild steel a hundred times. And for the first three years? I was reading it wrong.
Here's the thing: the chart isn't just a lookup table. It's a cost calculator in disguise. If you're a job shop owner, a production manager, or anyone who needs to quote jobs accurately, this 5-step checklist will save you from the mistake that cost us $4,200 on a single order in Q2 2024.
When This Checklist Applies
This is for anyone using a TRUMPF fiber laser—specifically the TruLaser 1030 or similar series—cutting mild steel from 1mm to 25mm. If you're cutting stainless or aluminum, the principles apply, but your numbers will shift. I can't speak to that directly.
5 Steps to Use the TRUMPF Fiber Laser Cutting Speed Chart (Without Getting Burned)
Step 1: Nail Down Your Material Specs — Not Just 'Mild Steel'
Sounds obvious, right? But I can't tell you how many times I've seen someone grab the speed for 10mm mild steel without checking the actual grade. A36 vs. S235 vs. S355? They cut differently.
Here's what you need to do: Before you even open the chart, confirm three things: the material grade, the surface condition (pickled vs. non-pickled), and the tolerance of the sheet thickness. A 10mm sheet can actually be 9.8mm or 10.2mm. That 0.2mm difference? It can shift your speed by 5-10%.
Never expected a 0.4% thickness variation to matter. Turns out it affects the focal point position and can lead to dross on the bottom edge. That means secondary cleanup. That means cost.
Step 2: Match Your Gas and Nozzle to the Speed Chart
The TRUMPF chart assumes a specific gas—usually oxygen for mild steel over 4mm, nitrogen for thinner stuff. But here's the catch: it also assumes a specific nozzle size and standoff distance.
I once had a vendor quote a job at the chart speed, then told me they'd need a different nozzle. That nozzle change added $150 in setup. The 'cheap' option resulted in a $1,200 redo when the edge quality failed inspection.
When you're looking at the chart, check the footnote. It'll tell you the gas pressure, nozzle diameter, and focal position they used. If your setup differs, you can't just grab the number. Adjust it.
Step 3: Read the Curve, Not Just the Number
The chart shows maximum cutting speed at a given power. But here's the mistake I made: I read the max speed and used it for quoting.
Why does this matter? Because the max speed is for a clean, straight cut with perfect conditions. In the real world, you have corners, small holes, and varying part geometry. If you quote at max speed, you're pricing for the best-case scenario. And best-case scenarios don't pay your bills when a rush job shows up.
Rule of thumb I've developed: Take the chart speed, subtract 15-20%. That's your reliable production speed. For every 100 parts you cut, maybe 2-3 will hit the chart speed. The rest will be slower. If you quote at 85% of chart speed, you'll hit your deadlines and your margin.
Step 4: Factor in the 'Pierce Time' — The Hidden Cost Most People Forget
The chart gives you cutting speed in meters per minute. But it doesn't show pierce time. For a 10mm mild steel part with 20 holes, pierce time can be 30-40% of your total cycle time.
The most frustrating part of using speed charts: everyone talks about cutting speed. Nobody talks about pierce time. You'd think a simple parameter would be standard, but it varies based on power ramp-up, gas pre-flow, and operator skill.
After tracking over 200 orders in our production system, I found that about 60% of our 'budget overruns' came from underestimating pierce time. We implemented a policy of adding a 25% pierce time buffer on any part with more than 5 holes. Cut overruns by 17%.
Step 5: Ask the Machine What It Thinks — Then Run a Test
Modern TRUMPF machines—like the 1030—have built-in process databases. They contain speed settings for thousands of material/ thickness/ power combinations. Use that as your starting point, not the printed chart.
But here's the real pro tip: always run a 30-second test cut before a production run. A small square. Check edge quality, dross, and burr. If it's clean, proceed. If not, adjust power or speed by 5% increments.
Between you and me, I'd rather lose 30 seconds on a test than lose a whole shift reworking scrap parts. We had a 36-hour run once where the operator trusted the chart speed without testing. The first 8 hours of production? All scrap. Cost us about $1,400 in material alone.
One More Thing: Beware of 'Chart Drift'
Here's a problem I didn't expect: the chart gets outdated. TRUMPF updates their process parameters as they develop new nozzles, new gas flow dynamics, new software. If you're using a chart from 2023? It's not accurate for a 2025 machine running the latest software.
Check the revision date on your chart. I check ours annually. In 2024, we found a 12% speed improvement on 6mm mild steel that we'd been missing because we were running old parameters. That improvement saved us about $8,400 annually—17% of our cutting budget.
Bottom Line
The TRUMPF fiber laser cutting speed chart for mild steel is a powerful tool—if you use it right. Don't just grab the number. Understand the assumptions, adjust for real-world conditions, and always, always test first. And for the love of your budget, don't forget the pierce time.
Prices and parameters as of January 2025; verify current rates and machine settings. My experience is based on about 200 orders with 3 different TRUMPF machines. If you're running a different brand or a non-TRUMPF resonator, your experience may differ.